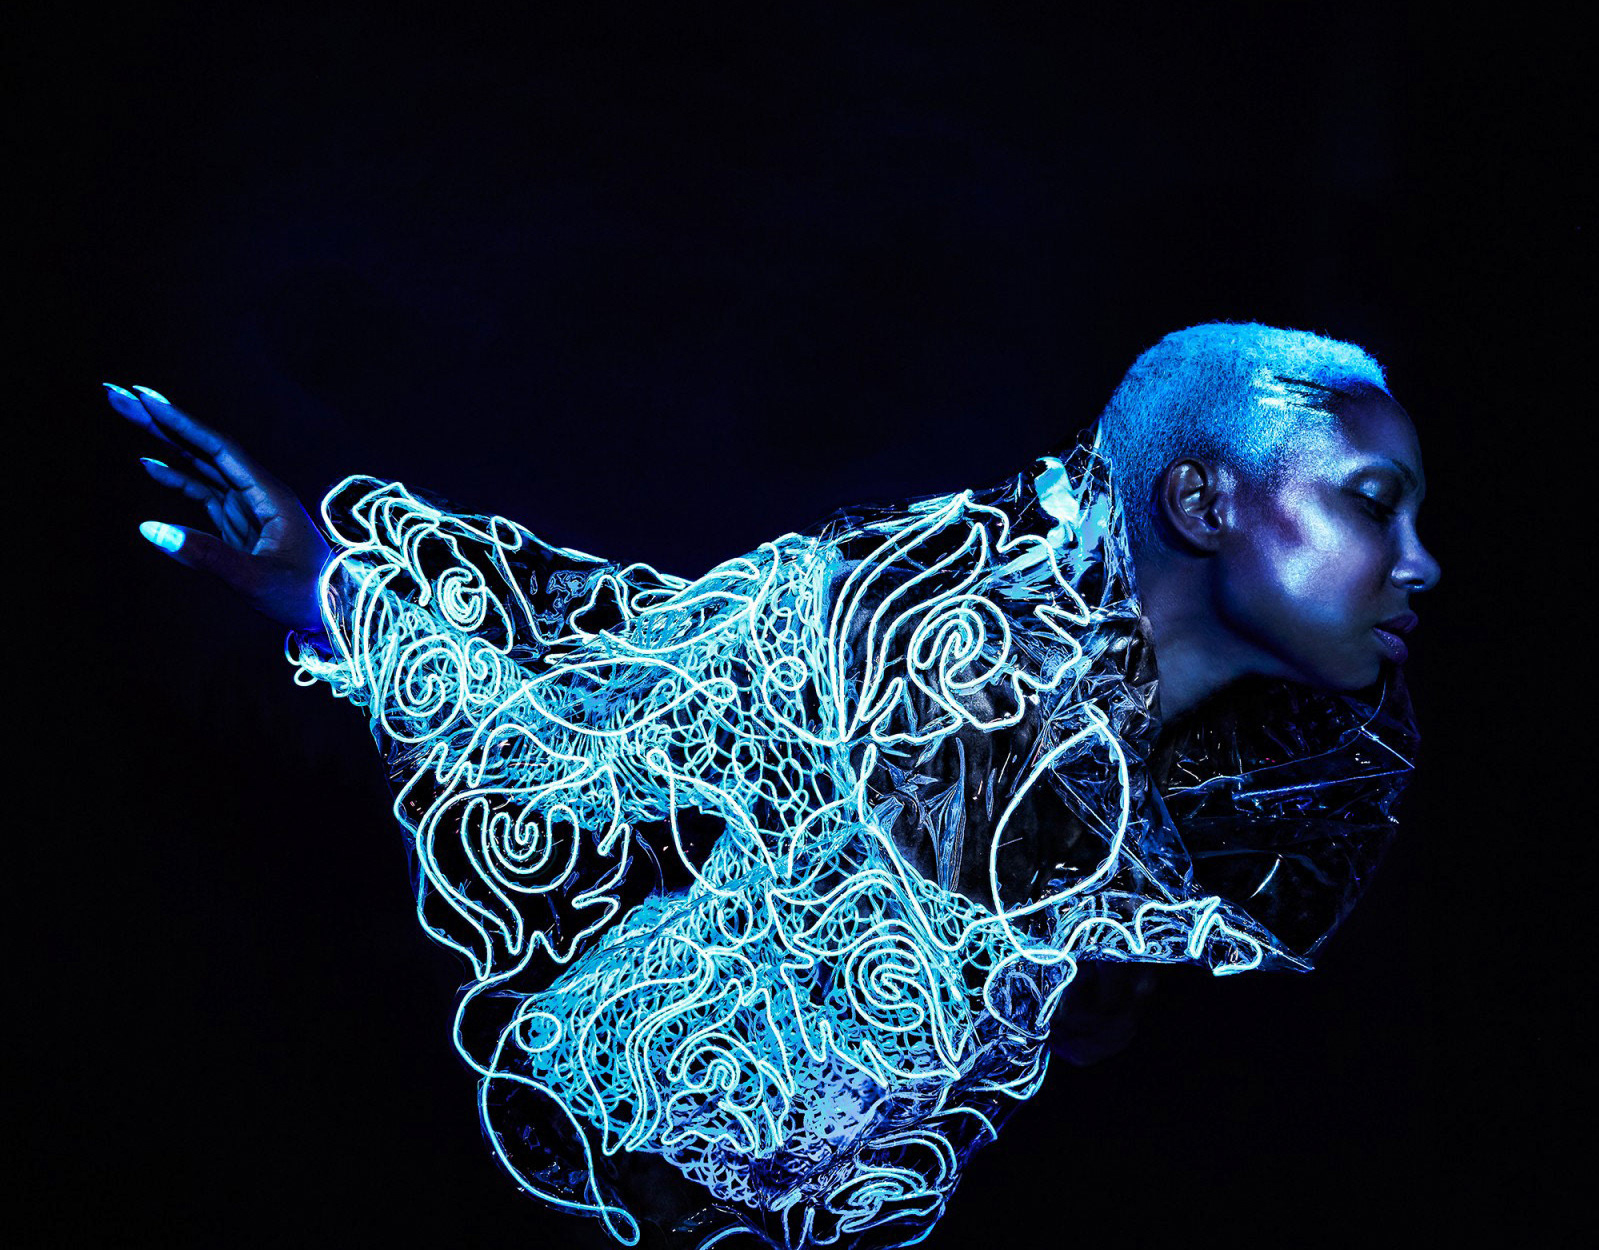
Knit EL Wire Dress
2016

Team Capybara
2016
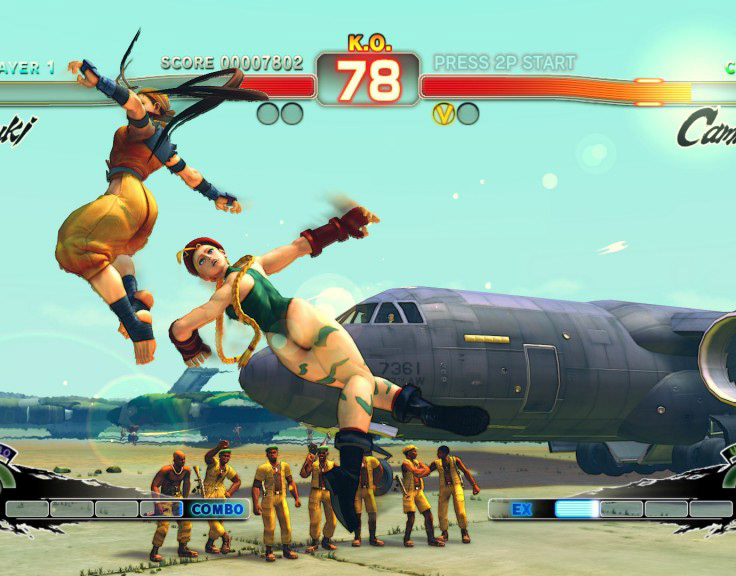
Cheating at Street Fighter IV with an Arduino
2015